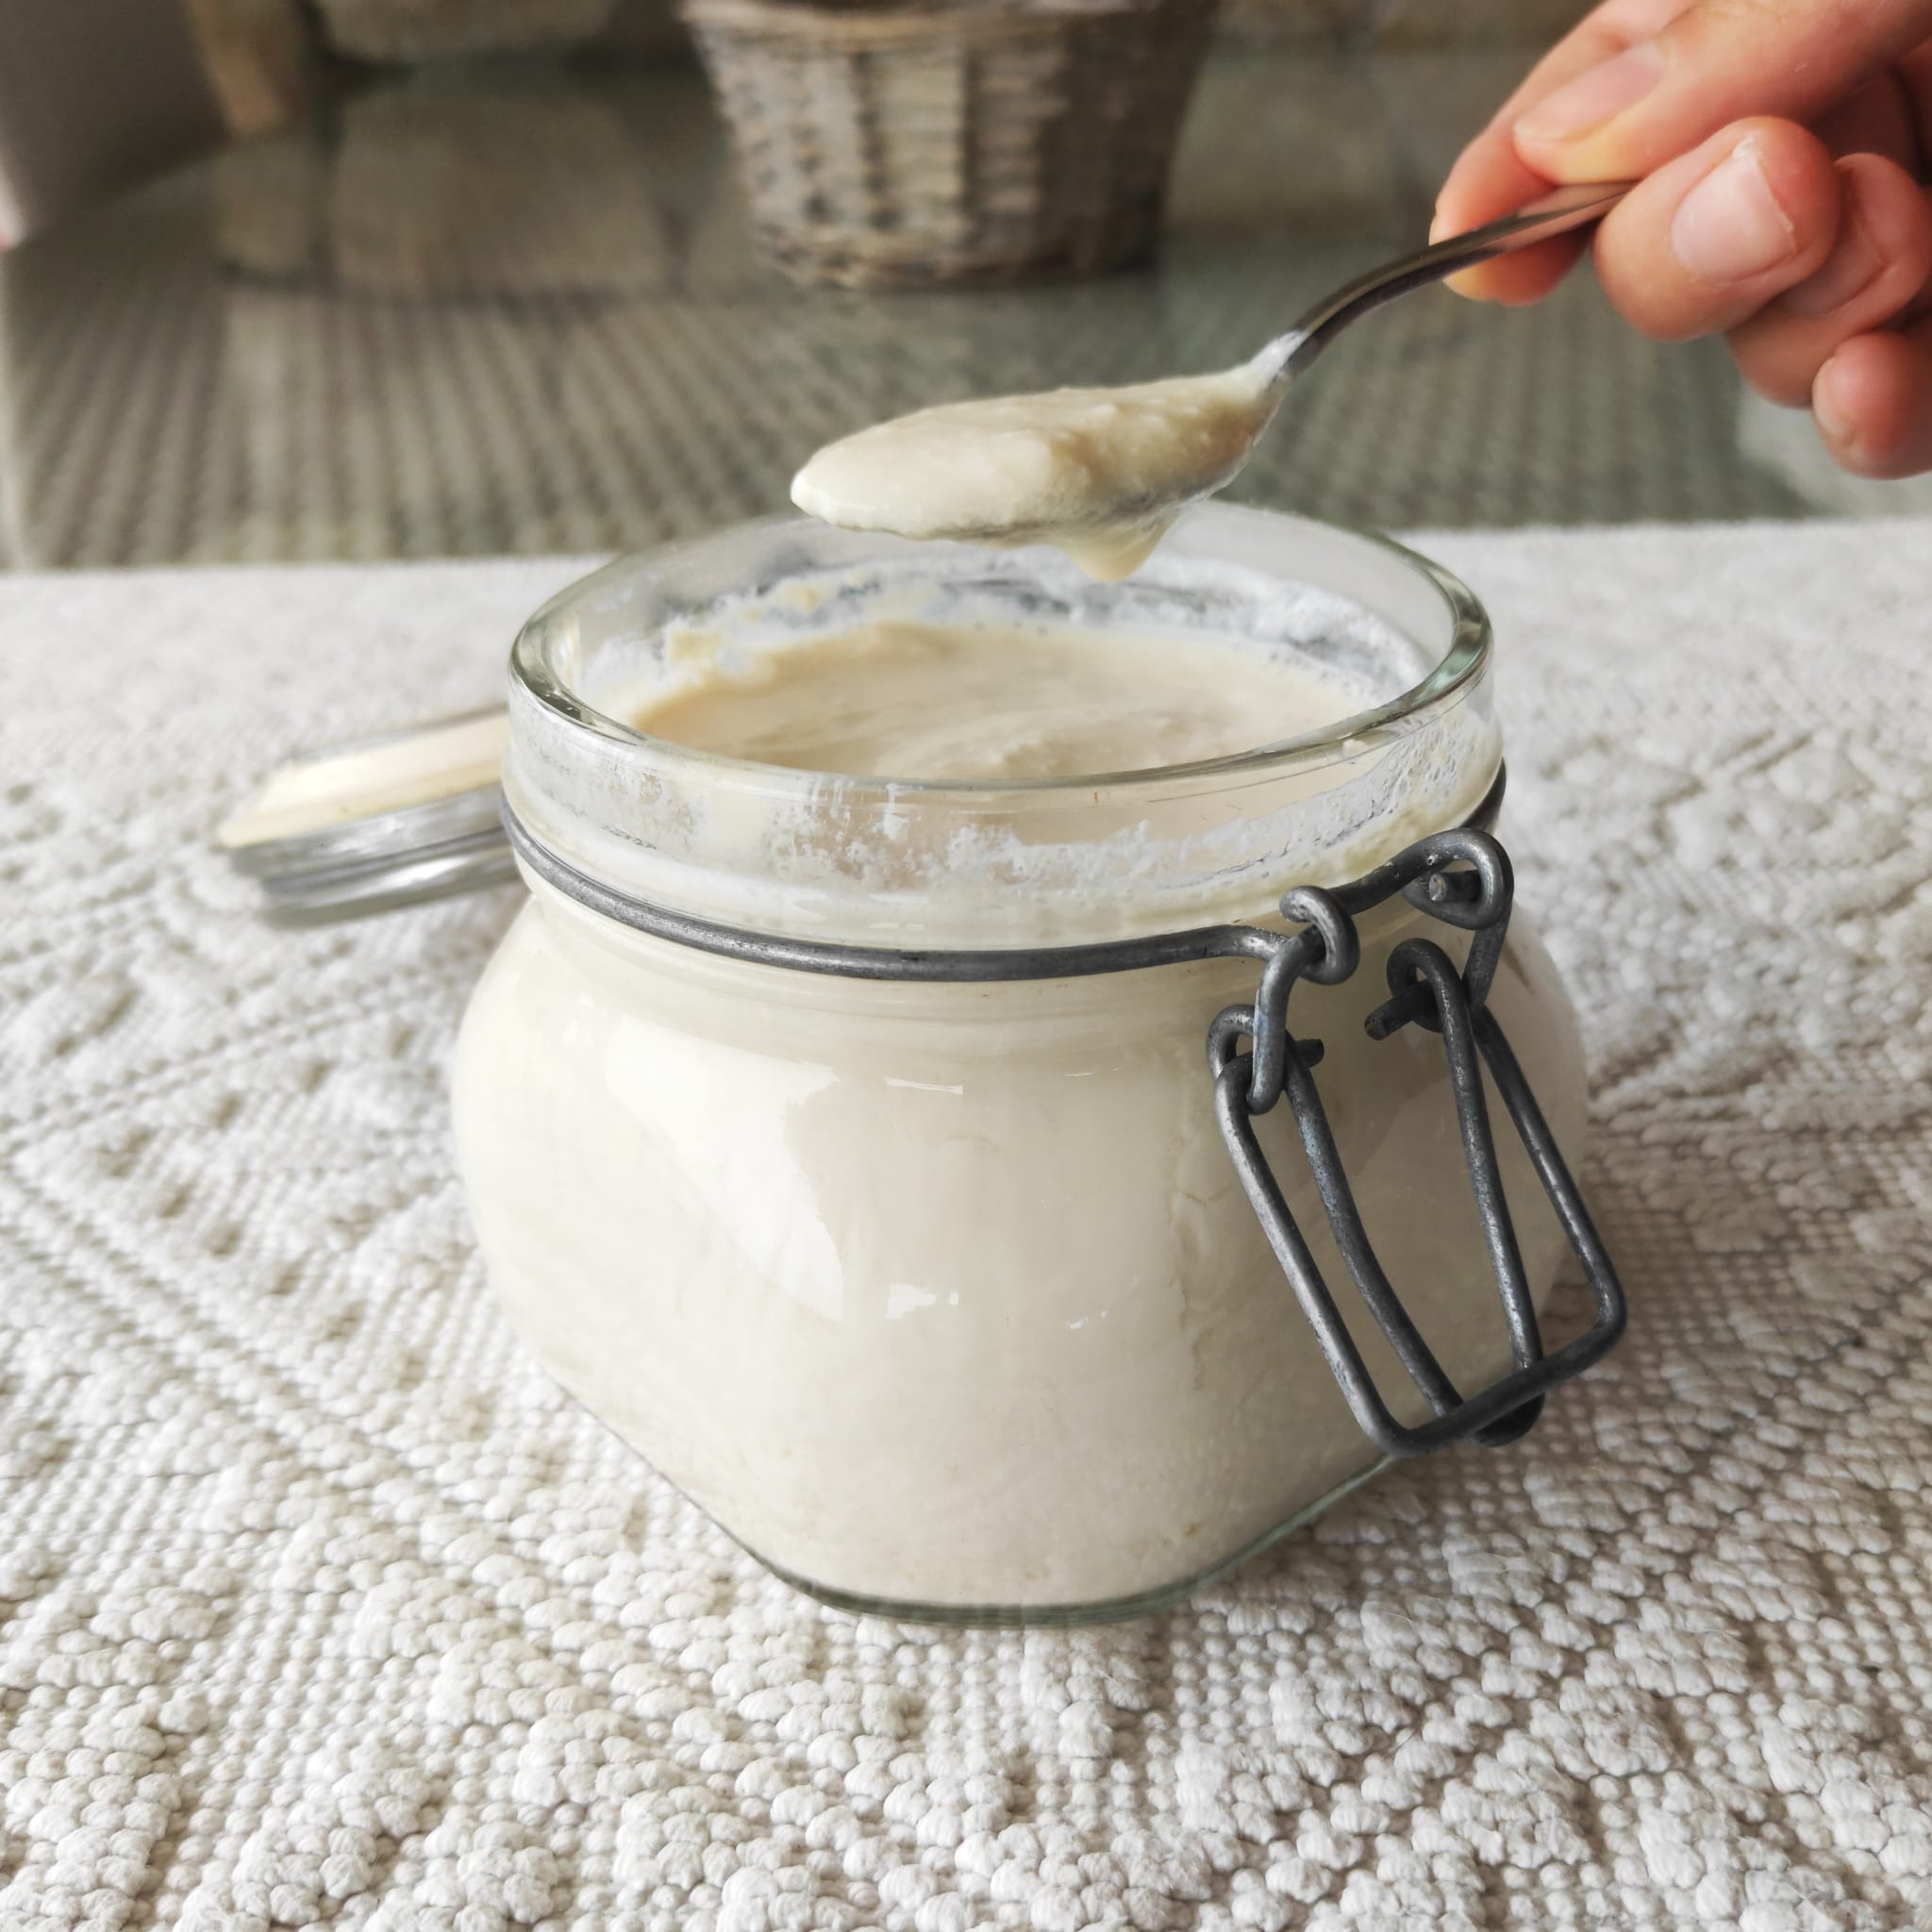
soy yogurt without yogurt maker
protein+ glutenfree
ingredients
- soy milk: 1l
- soy yogurt: 4 tablespoons
you will only need to buy soy yogurt for the first time, afterwards you will reuse your homemade yogurt to make more of it.
we suggest using plain, sugarfree soy milk. you can add sweeteners and flavors to your taste once your plain yogurt is ready!
procedure
-
warm up the soy milk in a pot. the milk should be warm but not hot: to know when it is ready, measure its temperature with your finger, it should feel a little bit warmer than your body temperature, but not burning. if it is too hot, let it cool down a moment, otherwise it will kill the enzymes that make the yogurt.
-
in the meantime, warm up some water: it should not be boiling-hot, yet warmer than the milk. we will use it to help maintain a warm environment for the enzyms to transform the milk into yogurt, but once again, if the environment is too hot, the enzymes will die.
-
optional: warm up your oven to 40/50° C. this will also help to keep your yogurt warm, but is not necessary.
-
pour the soy yogurt in some glass jars: we use two big glass jars of the capacity of half a liter each and put 2 tablespoons of yogurt in each jar. if you use more jars, divide the yogurt accordingly.
-
pour a little bit of warm milk inside each jar and mix it gently with the yogurt with a spoon.
-
then add the remaining milk and, again, mix gently.
-
put your jars in a pot, cover them with their lid without closing them.
-
add the hot water in the pot until it covers all the yogurt in the jars, but pay attention not to let it go over the lids or it will enter the jars!
-
cover the pot with a lid and store it in the turned-off oven, or other closed environment, for 8-12 hours.
-
if you make it in the evening, you will find freshly-made delicious yogurt ready for your morning breakfast! let it cool down completey and then store it in the fridge.
-
do not finish it all! keep 4 tablespoons to repeat the procedure and make more yogurt.
if the procedure does not work out the first time and you find milk instead of yogurt in the morning, do not worry, as we are not using any specific instrument (like kitchen thermometer or yogurt maker) it might take a few tries to get to learn the good measurements. in your next try, you can re-use the same milk and add new yogurt. after a couple of attempts you will have learnt the exact temperature needed and the procedure will become extreamly easy! there are only few problems that might arise in the process and here’s how to solve them:
- the milk was too hot and killed the enzymes: next time warm it less or be patient and let it cool down a bit before adding it to the yogurt
- the milk was too cold for the enzymes to work: warm it up a little bit more
- the environment cooled down too much: consider warming up the oven before putting your pot inside or cover your pot with a blanket to keep it warm longer
note that the thickness of your yogurt will depend on your soy milk: if it’s too liquid, try another brand.